

{BUY THE LATEST CRICUT MACHINE HERE}
The Boyf has been going on about getting tattoos since I’ve known him but being a perfectionist and general dilly-dallyer he is yet to have them done. He’s got plans and designs and even a great pinterest board but has been apprehensive about taking the plunge.
He had been considering getting henna tattoos by someone to test out some potential designs, that way he’s less likely to regret it like I do my own tattoo! But when I got hold of the new Cricut Explore we started thinking I could make temporary tattoos as we had as children. So armed with an idea we proceeded to do the research to work out if we could make our own temporary tattoos.
We discovered something called Waterslide paper that works is by “trapping” ink between 2 layers of adhesive sheets, one double-sided to stick to your skin.
Cricut is not purpose-built to make temporary tattoos but I’ve created a workaround that can use the paper and create single colour tattoos that worked out perfectly for us. And they’re so fun!
Basically, the method involves printing a solid block onto the Waterslide paper using Microsoft Word or a similar program and then using the Cricut Explore to cut out the tattoo design within that block. As the Cricut cuts them, there is no border around the tattoo making them look more realistic than some other temporary tattoos.
Before 

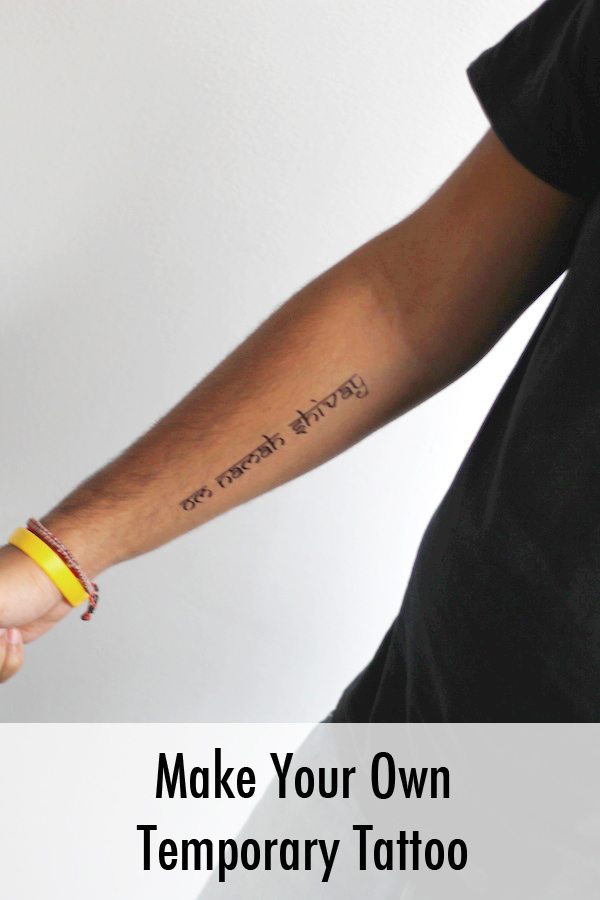
After

WARNING – Does not work with laser printers, ONLY USE INKJET PRINTERS – I found this out the hard way and ended up with toner all over the place. Make sure your printer has enough black ink. You will use more than usual.
WHAT YOU NEED TO MAKE TEMPORARY TATTOOS
- Waterslide paper (I used Silhouette)
- Inkjet printer
- Cricut Explore machine (see the latest machines here)
- Water
- Cloth
- Blade
- Ruler
- Scissors
HOW TO MAKE TEMPORARY TATTOOS
1. Buy Waterslide paper (I used this one)
2. Design your tattoo in Cricut Design Space
IMPORTANT – you must MIRROR your design as it is applied to the skin the opposite way to the way it is printed.

You need to keep an eye on the dimensions, as the printed block will be slightly away from the edges when printed in Word.
As you are cutting out within a block, it is best to compact a few designs in the space for good measure. Even if you may not want to try them on now.
The tricky part of this is the measurements. Depending on whether you work in cm or inches – Design Space only works in inches. (Here are some useful measurements to save you looking it up, or if you’re without a converting ruler like I was at the time – 1 inch = 2.54cm and 1cm = 0.393in)
Waterslide Paper = 8.5in x 11in or 21.59cm x 27.94cm
The boyf’s temporary tattoos were:
Om Namah Shivay Text = 5.29in x 0.84in
Solid Line = 11in x 0.27in
Design : Text

You can create a text tattoo in two ways. The first is to simply use the text function within the Cricut Design Space to write out your text. However, this is limited to the fonts available so if you want something different to follow this instruction below.
Create the text in Word using the font of your choice (I downloaded a free font and installed to my computers font library) and take a screenshot to create a graphic of the text. Then upload to Cricut Design Space as an image. This makes it easier to mirror the text, as it is one whole image.
Design : Lines
This was easy enough to do by inserting an image from the Cricut Design Space images and use the size markings to get the correct size.

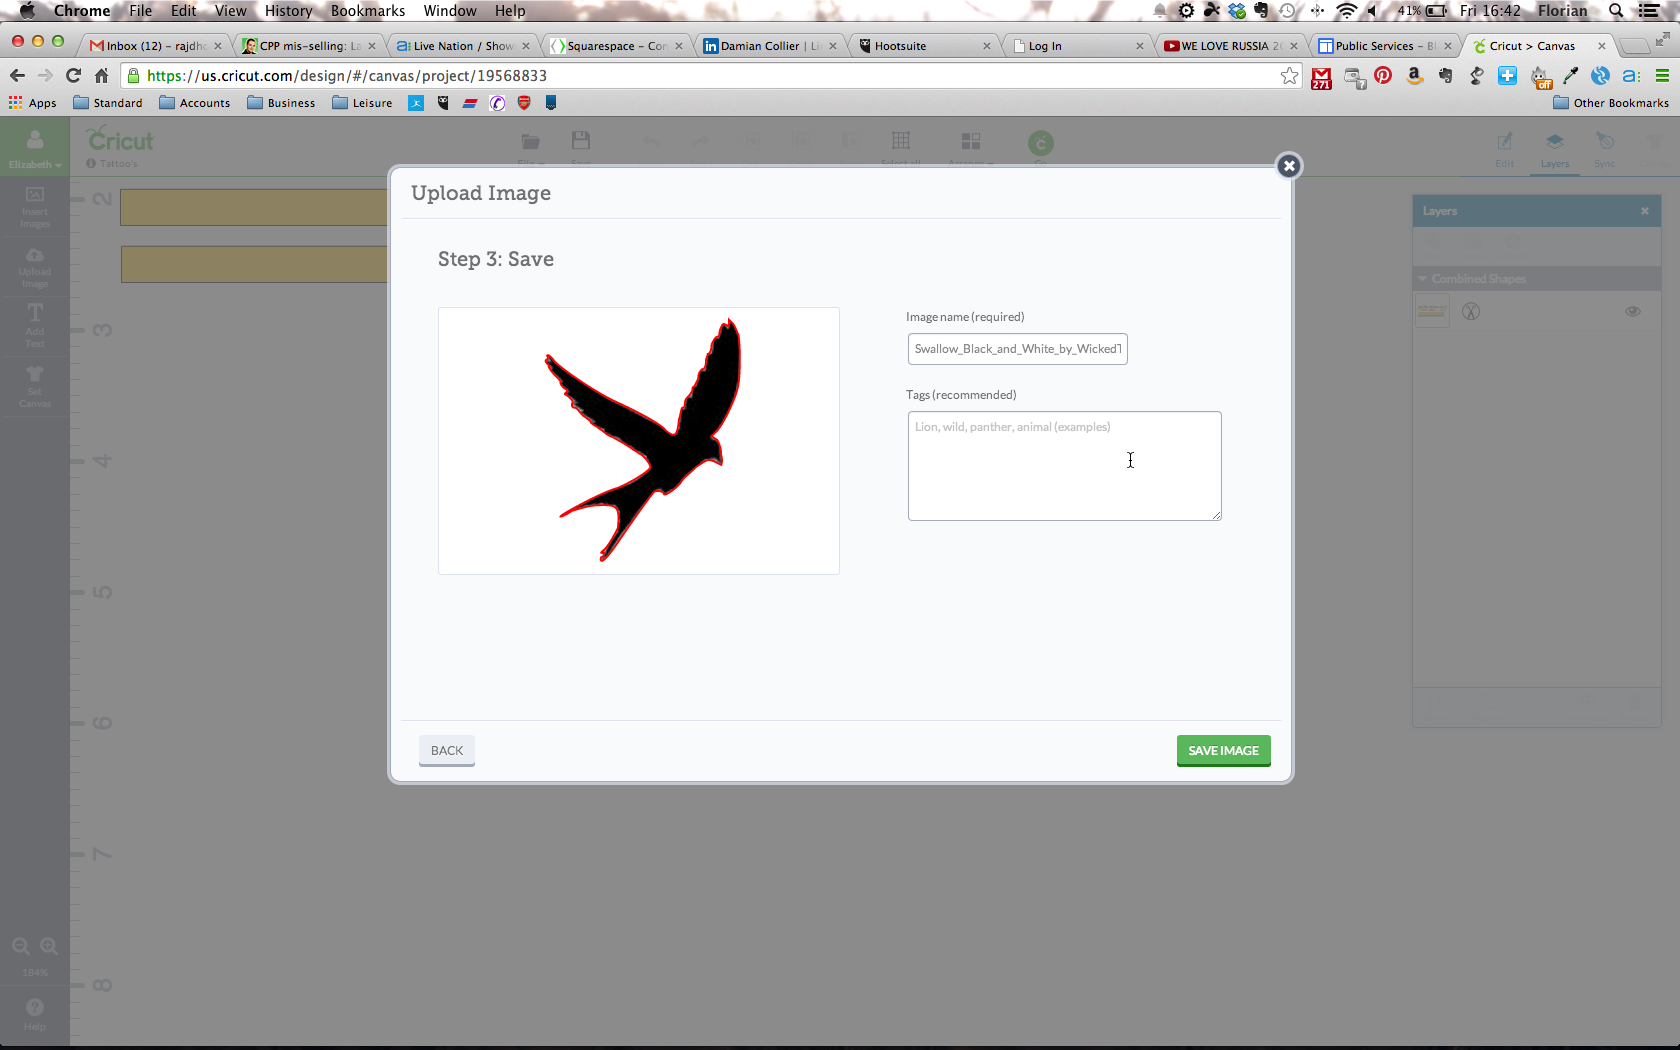
Design : Birds
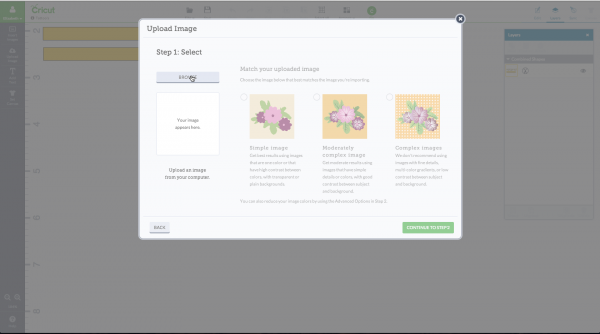
I found a nice image of a Swallow (his favourite bird) but it had a messy background colour so I used the ‘cleanup basic image’ function when uploaded to the Cricut Design Space to remove everything and just leave an outline of the bird.


Once I had all of the tattoos arranged in Design Space we saw there was still a gap for another temporary tattoo. So we created a couple more mini word-based tattoos to add to our tattoo block.
3. Print block on Word
In Word I matched the dimensions and margins for the black block to that of the Design Space project. The box is easy to draw and is filled in black, but it is possible to choose a different colour or even a pattern.
Now you just have to be sure to print onto the glossy side of the Waterslide paper.

To extend the use of the paper I decided to cut it in half to give me 4 pieces of A5 paper to use instead of the 2 A4. As they are single use only, this extended the times I could try out the tattoos. It’s useful to know which way your printer prints in case you need to put your black box at the bottom of the page.
Once it is printed, you can use the sticky paper to seal the ink on the printed part.(cut in half if you did for the other sheet). Follow the instructions on the packaging for this bit. Use a ruler to push out any bubbles and secure the sheet.
4. Use Design Space to cut out images
Using the placement of the images in Design Space, place the waterslide paper onto the Cricut cutting sheet so the black box is in line with the numbers as they are on the software. The idea is that your cutting area is the black box.
Now you can cut! Use the Vinyl setting.
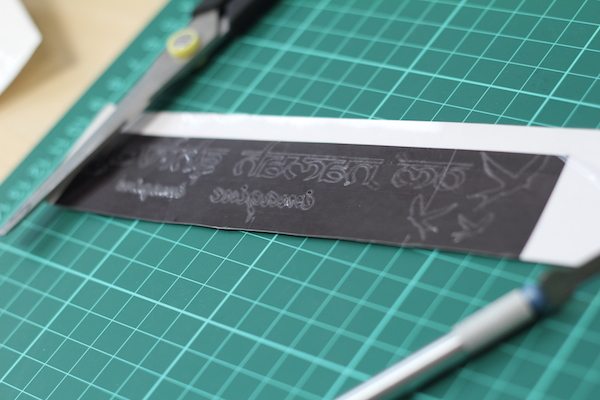
5. Preparing for application
Once the machine has finished cutting, use scissors to roughly cut out each tattoo. Try to leave a border.
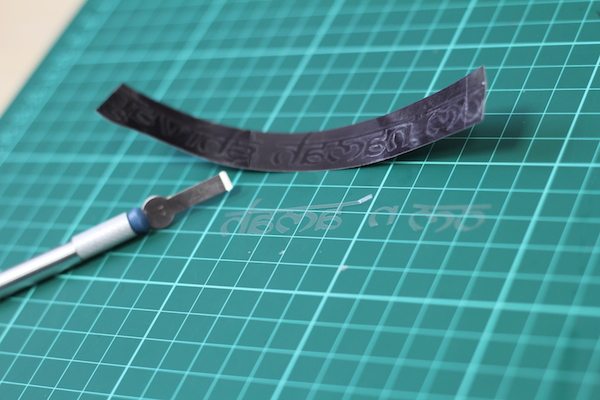
Next use the blade to remove the area of the sticky sheet that covers the tattoo design. E.g. for the wording, remove the vinyl that makes up the letters so you have the same word made out of the vinyl discarded, leaving the correct inked area exposed. This will be sticky so be careful. It is important that this is done carefully as any naked ink will stick to your skin.
6. Application
Place the tattoo where you want it on your skin and press to stick.
Moisten a cloth so it is wet (not damp, but not dripping). Press this on the back of the paper and make sure it is wet through and evenly applied. Leave this for 10- 20 seconds, you may find it starts to slide off (hence the water slide! ) then remove the wet paper gently.
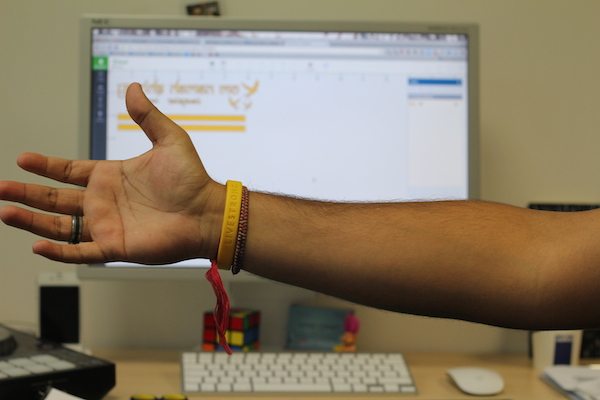
This should leave the desired tattoo on the skin and the remaining border left on the paper. Press gently to make sure it is all stuck to the skin and allow to dry.
Job Done!

It is a temporary tattoo and will come off in the shower. The more intricate the design, the more likely it will peel but it will certainly give you a day or two to get the feel for the design and placement.
He’s decided to go with the text tattoo but is still unsure about the line one. He likes it but thinks he might be a bit old for it now!
What do you think?
It is a long work around but once done, I’m comfortable to do it pretty quickly and have ordered more paper to try out some more temporary tattoo fun!
Buy your Cricut machine here
***
PLEASE NOTE THIS ORIGINAL POST WAS WRITTEN IN 2014, SOME FUNCTIONS ON THE NEWER CRICUT MACHINES MAY BE DIFFERENT NOW.